A Guide To Capturing The Best Photos During A Helicopter Tour
Have you ever wondered how to take stunning photos from a helicopter? Aerial photography provides a unique view of landscapes, cities, and landmarks. However, taking great pictures from a moving helicopter requires some preparation.
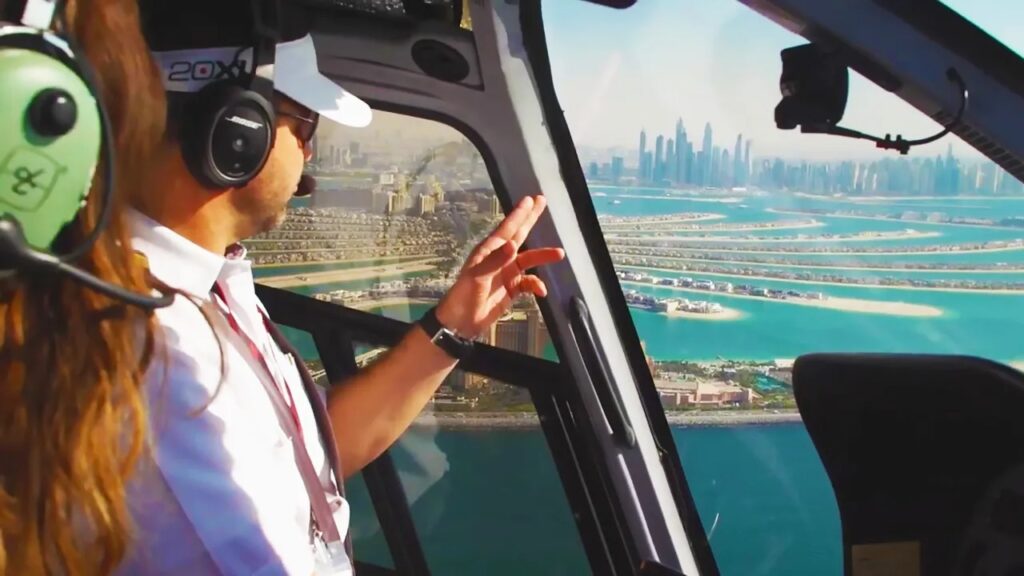
From choosing the right camera settings to finding the best angles, a few simple tips can make your Atlantis helicopter tour memorable.
Choose the right camera and lens
A DSLR, mirrorless camera, or even a high-quality smartphone can work well for aerial photography. A wide-angle lens is a good choice for capturing large areas, while a zoom lens allows for detailed shots of landmarks. If using a phone, turning on HDR mode helps balance light and shadows.
Adjust camera settings before takeoff
Since helicopters move quickly, adjusting camera settings in advance is helpful. A fast shutter speed (at least 1/1000s) prevents motion blur. A low ISO (100–400) keeps images clear, while an aperture of f/5.6 to f/8 provides sharp details. Autofocus should be set to continuous mode to keep subjects clear.
Avoid window reflections
Helicopter windows can cause unwanted reflections in photos. Wearing dark clothing reduces glare, and placing the camera close to the window helps avoid reflections. If possible, using a lens hood or a polarising filter can also improve image quality.
Capture landmarks from different angles
A helicopter tour provides multiple opportunities to photograph famous landmarks from above. Instead of taking a single straight-on shot, try capturing landmarks from various angles. Tilting the camera slightly or including part of the helicopter in the frame can add depth to the image.
Use the right composition techniques
Good composition makes photos more interesting. The rule of thirds helps balance the image by placing key elements off-centre. Leading lines, such as roads or rivers, guide the viewer’s eye through the frame. Adding foreground elements, like part of the helicopter, gives a sense of scale.
Take advantage of lighting conditions
Morning and late afternoon flights provide the best lighting for photography. The soft golden light during these hours improves colors and reduces harsh shadows. Midday flights may have stronger sunlight, which can create contrast but also harsher shadows.
Capture both wide and close-up shots
Taking a mix of wide and close-up shots creates a more active photo collection. Wide shots highlight the full landscape, while close-up shots focus on specific details, such as buildings, coastlines, or natural patterns.